Rear-right fender flare moulding
Upgrade damaged or weather-worn body trim with the genuine rear-right fender flare moulding for the latest-generation Ram 1500 pick-up. Crafted to Stellantis (Mopar) specifications, this component restores factory body-line definition and shields the wheel arch from stone chips and road spray.
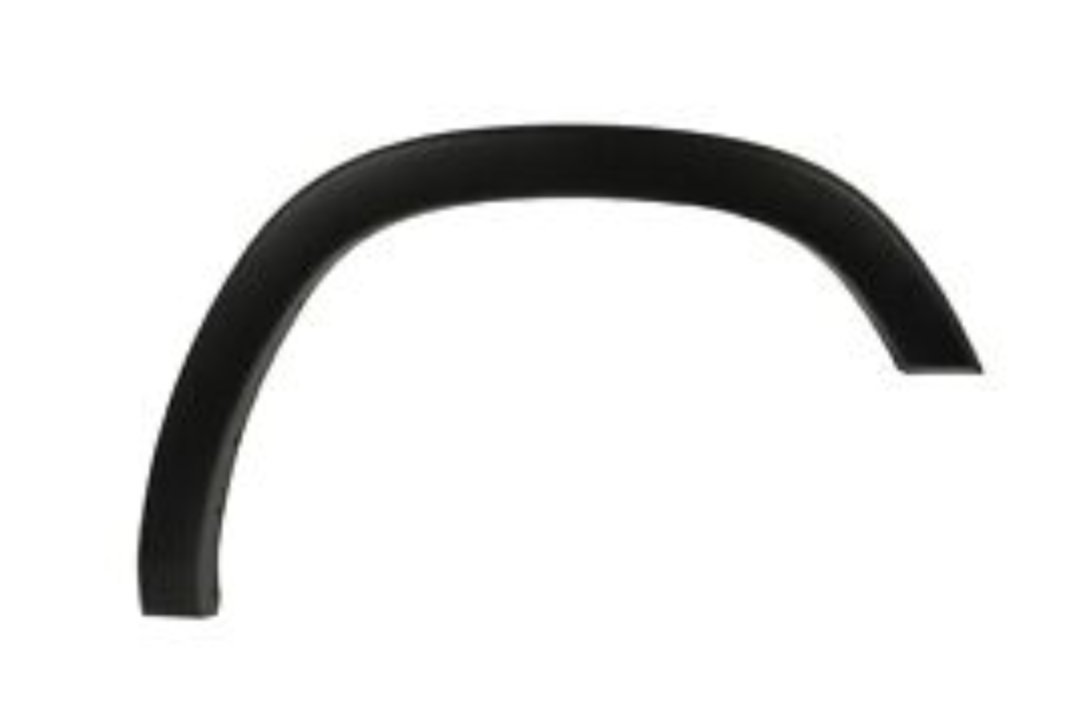
Ram 1500 Wheel-Opening Flare (RR) – Part No. 6FX92TZZAD
Upgrade damaged or weather-worn body trim with the genuine rear-right fender flare moulding for the latest-generation Ram 1500 pick-up. Crafted to Stellantis (Mopar) specifications, this component restores factory body-line definition and shields the wheel arch from stone chips and road spray.
Key Benefits
-
OEM precision – moulded mounting tabs align perfectly with factory holes; no drilling, trimming or aftermarket clips required.
-
Impact-resistant ABS/TPR blend – flexible enough to absorb parking-lot knocks yet rigid under high-speed airflow.
-
Paint-ready surface – supplied in primer or factory colour (check finish code) for seamless paint matching.
-
Weather-sealed perimeter – integrated foam gasket keeps water, mud and salt away from inner fender metal.
-
Full Mopar warranty – two-year coverage against manufacturing defects for worry-free ownership.
Vehicle Compatibility
-
Ram 1500 DT (New-generation, 2019 → 2025)
-
Trims: Tradesman, Big Horn, Laramie, Rebel, Limited, Longhorn
-
Position: Rear axle, passenger side (right-hand on LHD trucks)
-
Supersedes earlier revisions 6FX92TZZAA, 6FX92TZZAB and 6FX92TZZAC. Always verify by VIN or the number etched inside the original flare.
Technical Specifications
-
Part number: 6FX92TZZAD
-
Material: Textured ABS / TPR polymer
-
Finish: Primer coat or factory paint (varies by order code)
-
Fastening: OE push-pins and Torx screws (reuse originals)
-
Approx. weight: 1.2 kg
-
Warranty: 24 months, unlimited mileage
Installation Steps (DIY-Friendly)
-
Remove wheel and inner-liner fasteners near the existing flare.
-
Release OE clips with a trim tool and unbolt the old moulding.
-
Clean the arch lip; test-fit the new flare for uniform gaps.
-
Press clips into place, install screws to 5 Nm torque.
-
Refit liner, reinstall wheel, and repeat torque check after 100 km.
No specification found
| Name | Make | Price | |
|---|---|---|---|
| No analog parts to list | |||