Pipe
Ensure reliable fluid or air transfer in your Mitsubishi vehicle with the genuine pipe (part 1370A375). Engineered to exact factory specifications, this precision-formed tubing delivers leak-free performance and seamless integration into the original routing harness.
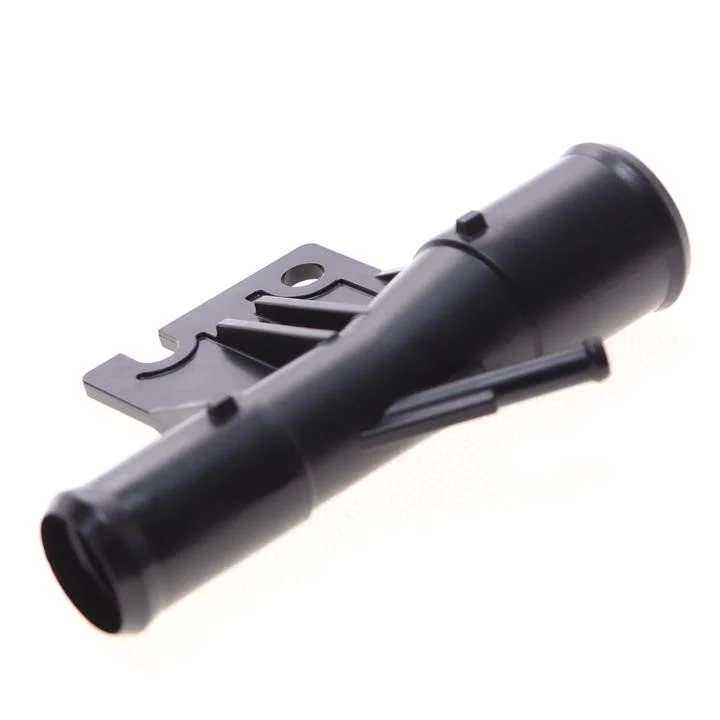
Pipe 1370A375
Ensure reliable fluid or air transfer in your Mitsubishi vehicle with the genuine pipe (part 1370A375). Engineered to exact factory specifications, this precision-formed tubing delivers leak-free performance and seamless integration into the original routing harness.
Key Benefits
-
Exact OEM Fit
Manufactured to Mitsubishi CAD dimensions for direct installation—no cutting, bending or adapters required. -
Durable Construction
High-grade steel or aluminum alloy resists corrosion, pressure pulsation and thermal cycling in harsh under-hood environments. -
Precision Forming
Mandrel-bent curves and consistent wall thickness ensure smooth internal flow and prevent kinks or restrictions. -
Corrosion-Resistant Finish
Protective coating shields the tube from moisture, salt spray and chemical exposure for long service life. -
Versatile Application
Ideal for coolant, fuel return, vacuum or air conditioning lines where part 1370A375 is specified.
Technical Specifications
-
Part Number: 1370A375
-
Material: Steel or aluminum alloy with anti-corrosion coating
-
Outer Diameter: 8 mm (nominal)
-
Length & Bend Profile: OEM-specified shape for seamless routing
-
Operating Pressure: Up to 10 bar (fluid) or vacuum rated to –1 bar
-
Temperature Range: –40 °C … +150 °C
-
Compatibility: Fits Mitsubishi models requiring this tubing; verify via VIN or service manual
-
Warranty: 24 months genuine-parts coverage
Installation Overview
-
Relieve System Pressure: Safely depressurize or drain the circuit (coolant, fuel, etc.) before removal.
-
Remove Old Pipe: Disconnect at both ends, noting clamp locations and orientation.
-
Clean Fittings: Wipe mating connectors and inspect for corrosion or damage.
-
Install New Pipe: Align the new pipe’s bends with factory brackets and slip into place.
-
Secure Clamps: Reinstall original clamps or fasteners and torque to manufacturer specifications.
-
Test for Leaks: Repressurize or refill the system, then inspect all joints under operating conditions.
No specification found
| Name | Make | Price | |
|---|---|---|---|
| No analog parts to list | |||